I teach high school seniors who are in the 2nd year of a two year culinary program at a career center. This means they spend half their school day at their traditional high school and half the day with me. About two-thirds of my students will go on to culinary school, while the remaining students will decide that food service is not the career path for them. I consider both outcomes as positive. Sometimes knowing what you don't want to do is as important as knowing what you do.

Tuesday, March 20, 2012

Back in Time; Let's Make Butter!

Have you ever tried to make whipped cream and had it break on you? Congratulations! You've made butter!


 Just pour cream into your mixing bowl and
begin to whisk using the whisk attachment.


When it breaks, switch to the paddle, and continue until it's completely broken. Drain off the liquid. The solids are butter.

 
Add herbs, seasonings, honey, etc... to create a compound butter. 
Form into a log, wrap in plastic, label, and
refrigerate or freeze until you need it.

Making Butter with Mixer

2 c Heavy Cream
½ t salt


Pull cream from refrigerator approximately 30 minutes before beginning. Cream should be between 61°F and 65°F.

Pour cream into mixer.  Use the wire attachment and turn on as high as you can without splattering.  Cream will turn into whipped cream, and then it will begin to break. At this point, slow down the speed and let it run another 5-10 seconds. 

Switch to the beater blade. Beat on slow speed for approximately 10 more seconds to finish separating.

Use a spatula to squish the butter into a lump.  Pour off the buttermilk.

Now we need to wash the butter.  Any remaining buttermilk will reduce the shelf life of your butter.

Add ice water to the bowl and beat on low for 10 seconds.
Using your spatula, squish the butter back into a ball and pour off the water.

Repeat until water is clear.

Mix in salt and any additional flavors.  Form into log shape on sheet of plastic wrap.  Roll and twist ends to seal. 

For whipped consistency, you can beat for 1-2 minutes on high.


Want a low tech version perfect for entertaining children?

Fill a clean jelly jar 3/4s of the way with heavy cream. Close the lid tightly and have them shake away. When a solid lump forms, drain away the buttermilk and add a little salt. 

Sunday, March 18, 2012

Let's Go On a Picnic!

Getting back my blogging mojo is challenging.  It's very hard going back in time, so I think I'll continue interspersing current and past assignments.


This last week was a very unusual week at school. We were up for accreditation review. This meant a group of administrators from various schools in the state would come visit, go through our records, interview administrators, teachers, staff, students, parents, and other stakeholders to determine if we were doing all we should and whether or not we should be re-accredited. 


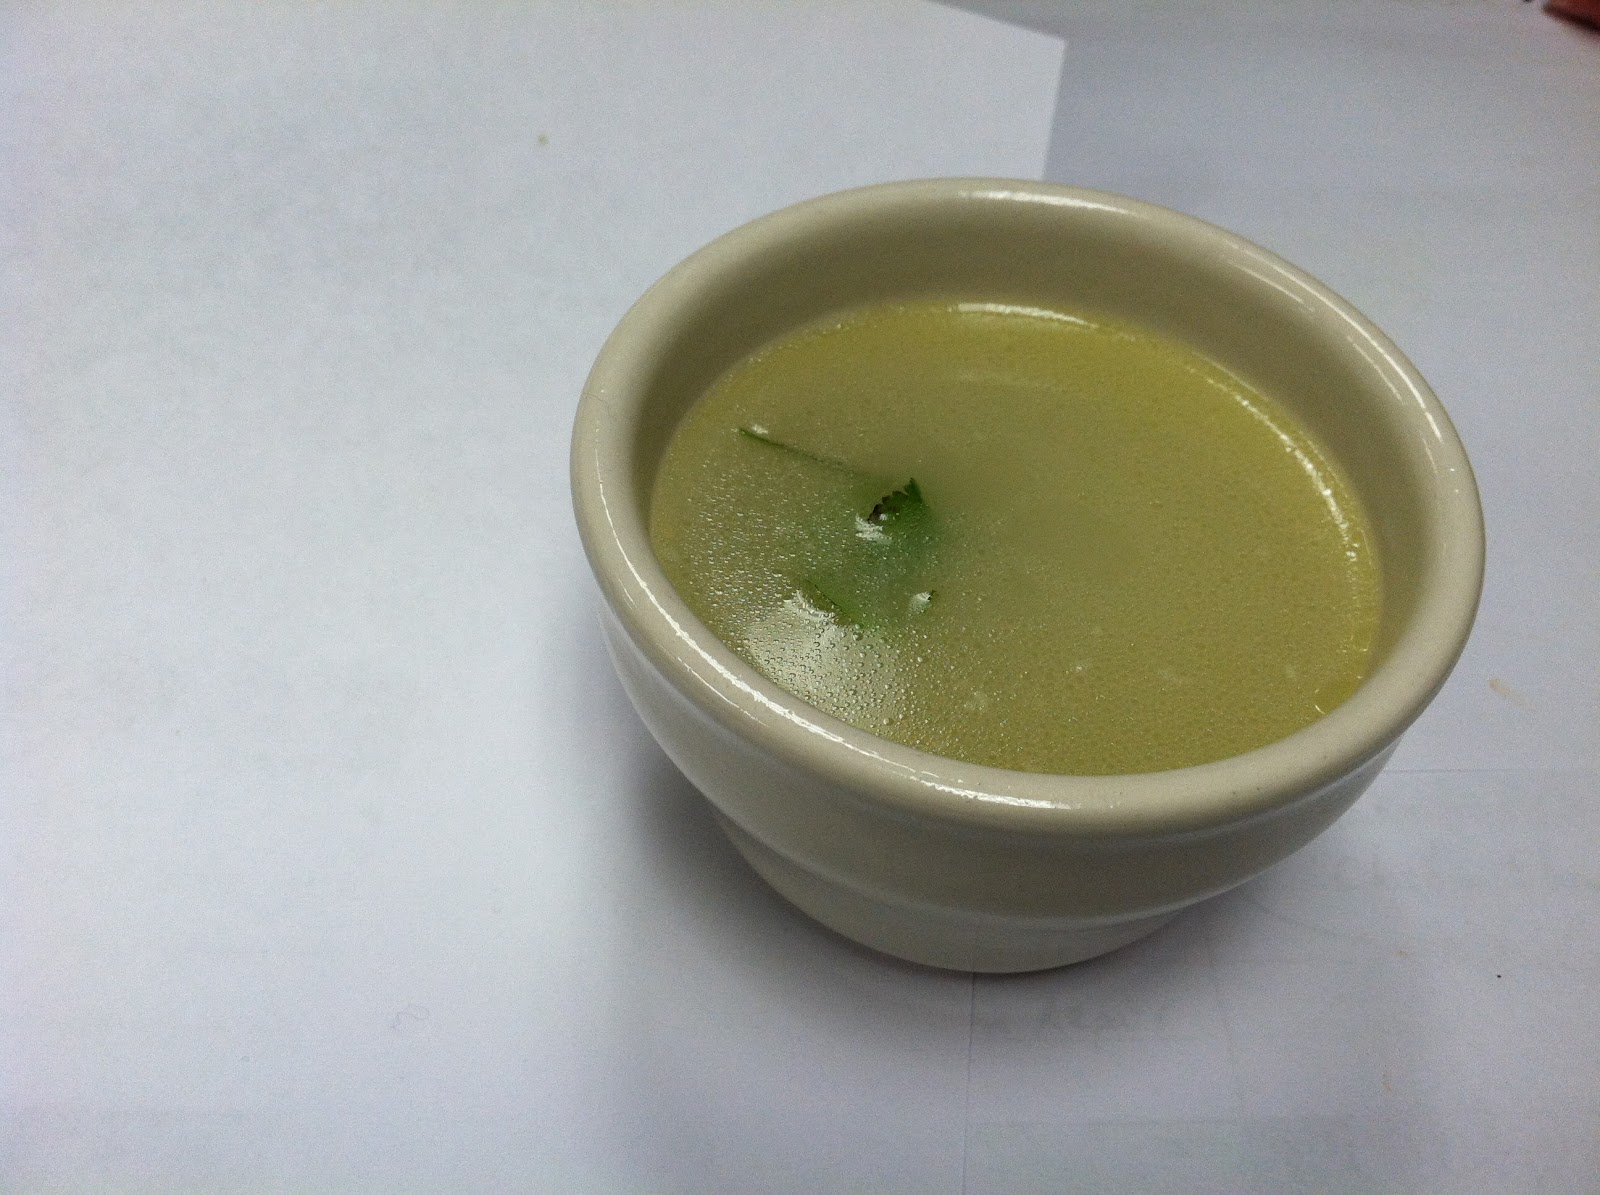
It was a small team, only 5, but my students catered a lunch and a couple of coffee breaks for them. The lunch was a working lunch, so we went with a picnic theme.


The menu was a pressed sandwich on ciabatta with ham, provolone, roasted red pepper, and pesto, steamed asparagus couscous salad, and a raspberry cheesecake in a jar.


Ciabatta
Bon Appetit - January 1999
Yield: Makes 2 loaves
For biga
1 c plus 1 T room-temperature water (75°F to 80°F)
1 ¼ oz dry yeast
3 1/3 c bread flour
For dough
Biga (starter dough; see above)
3/4 c plus 2 T room-temperature water (75°F to 80°F)
Pinch of dry yeast
½ c plus 3 T semolina flour*
2 ½ t salt
Additional semolina flour
Make biga:
Place water in mixing bowl. Sprinkle yeast over. Let stand until yeast dissolves, about 8 minutes. Add 1 cup flour; blend. Scrape down sides of bowl. Add 1 cup flour; repeat processing and scraping. Add remaining 1 1/3 cups flour. Process until small moist clumps form. Gather dough into ball (dough will be firm); place in large bowl. Cover; chill overnight (biga will soften, resembling thick oatmeal in texture).
Make dough:
Pull biga into walnut-size pieces; place in a clean large bowl. Add water, yeast and 1/2 cup plus 3 tablespoons semolina. Using 1 hand, squeeze ingredients together 2 minutes. Work dough 4 minutes by scooping sections from sides of bowl and pressing into center, blending into very soft, shaggy mass. Using spatula, scrape dough from sides of bowl into center. Let dough rest in bowl, uncovered, 10 minutes.
Sprinkle salt over dough. Using 1 hand, knead dough by rotating bowl 1/4 turn at a time, scooping dough from sides and folding down into center until dough starts to come away from sides of bowl, about 5 minutes. Scrape dough from hand and sides of bowl. Cover bowl with towel; let dough rest 20 minutes.
Rotating bowl 1/4 turn at a time, fold dough over onto itself 6 times; turn dough over in bowl. Cover with towel and let dough rest in bowl 20 minutes.
Bake bread:
Preheat oven to 425°F. Sprinkle work surface with additional semolina. Turn dough out onto semolina. Using pastry scraper, cut dough in half; keep halves separated. Let stand, uncovered, 20 minutes.
Sprinkle peel with additional semolina. Transfer each dough half, semolina side up, to the peel. Stretch each dough half to 16x4-inch rectangle. Press fingertips into dough in several places to dimple surface (characteristic of this bread). Bake until golden brown, about 25 minutes. Cool. (Can be prepared 2 weeks ahead. Double-wrap in aluminum foil to freeze.)


Asparagus, Feta, and Couscous Salad

1 box couscous
1 bunch fresh asparagus, trimmed and cut into 2-inch pieces
8 oz grape tomatoes, halved
6 oz feta cheese, crumbled
3 T balsamic vinegar
2 T extra-virgin olive oil
Black pepper, to taste
Cook couscous according to package instructions. Put aside and allow to cool slightly.
Meanwhile, place asparagus in a steamer over 1 inch of boiling water, and cover. Cook until tender but still firm, about 2 to 6 minutes. Drain and cool.
Toss the asparagus, tomatoes, and feta with couscous. Add the olive oil, balsamic vinegar, and black pepper and toss to incorporate.

Raspberry Cheesecake in a Jar
Adapted from Use Real Butter

Crust:
2 c graham cracker crumbs
6 T sugar
6 T butter, melted

Filling:
40 oz cream cheese, softened
14 oz sugar
5 large eggs
2 oz  milk
3 T flour
2 large egg yolks
grated peel of 1 lemon

Raspberry topping:
4 c raspberries, fresh or thawed
½ c water
1 t orange zest
1 c sugar
2 oz butter
4 T cornstarch
4 T cold water
12 8-ounce jars
Preheat the oven to 325°F.
Mix the graham cracker crumbs, sugar, and melted butter together. Press enough crust into the bottom of each jar about a half-inch thick.
In a mixing bowl, beat the cream cheese until smooth and slowly beat in the sugar. Beat in the eggs, milk, flour, egg yolks, and the lemon peel. Continue beating until uniform and smooth, scraping down the sides as necessary. Pour the batter into each jar about 2-3 inches deep. Gently tap the base of the jars on a counter or table to get the air bubbles out of the batter. Place the jars in a hotel pan and carefully pour hot water into the pan avoiding getting any water into the cheesecake jars. The water should come up to an inch below the shortest jar. Place in oven and reduce heat to 300°F. Bake 30 minutes then turn off the oven and let the cheesecakes sit in the oven for another 20 minutes. Centers should jiggle while the edges should be slightly firm. Remove from oven, remove from water bath and let cool completely. Cover with plastic wrap and refrigerate for at least an hour.
Place raspberries, water, and orange zest in a pan and bring to a boil. Reduce to a simmer for 5 minutes. Purée the berry mixture in a food processor and press through a sieve. Pour the berry liquid back into the saucepan over medium heat. Stir in 1 cup sugar and 2 ounces butter. Mix the cornstarch and water together in a small bowl. While whisking the berry mixture, pour the cornstarch into the pan. Stir until thick and bubbly and stir for another 3 minutes. Remove from heat. Pour the contents into a bowl and cover with plastic wrap. Let cool.
Before serving, spoon raspberry topping on top.

Thursday, March 8, 2012

Cookbook Testing

My plan was to go back to the beginning of the school year and post the different labs we completed. I already have to interrupt though.  We're working on a fun project this week, and I just wanted to share. Jaden at Steamy Kitchen had a post looking for volunteers to test recipes for her new book. I emailed offering the services of my 24 students. Today, 20 students completed 22 recipes (four of them were absent today).  All in all, they did a pretty good job. I thought I'd share some pictures. You'll have to wait for Jaden's book to get the recipes.


These dishes aren't perfect, but I was pretty proud of what they put out. Don't get me wrong. I could point out errors in almost every one, but for a group of teenagers, albeit culinary students, they did pretty well.


Big Salmon Salad with Miso Dressing


Blackened Tofu with Ginger Ponzu Sauce


Mapo Tofu


Chilled Soba Noodles


Vietnamese Style Shrimp Cocktail


Hot & Sour Soup


Egg Drop Soup


Eggs with Oyster Sauce


Healing Chicken Ginger Soup


Shrimp & Spinach Dumplings


Steamed Asparagus with Miso Ginger Butter


Carrots with Sesame Ponzu Vinaigrette


Tofu and Mushroom Miso Soup


Roasted Brussels Sprout


Seafood Noodle Soup


Seafood Curry Noodle Soup


Salmon Honey Teriyaki


Korean Beef Bites with Kimchi


Vegetable Tom Yum Soup


Edamame Noodle Salad with Orange Soy Vinaigrette


Seafood Coconut Chowder


Chicken Mango Lettuce Cups

Monday, March 5, 2012

Make Your Own Ricotta

One of the things I really want to teach my students is an understanding of the basics, an appreciation of food and where it comes from. To this end, I thought I'd have them make cheese.


Making Fresh Cheese

1 qt whole milk
1 c active-culture buttermilk
2 t lemon juice or white vinegar, more if needed
¾ t salt, or to taste

Pour milk into heavy-bottomed saucepan and place over low heat.

Stir regularly, but not constantly, until milk reaches temp of 175°.

When you reach temp, add buttermilk and lemon juice.  

Remove from heat.  Stir gently.

Sit undisturbed for 10 minutes.

Line colander with 4 layers of cheesecloth, and place over bowl or pot.

Ladle cheesecloth into colander.

Drain for 5 minutes.

Gather cheesecloth & tie with string.  Tie it to spoon over colander and drain for 30 minutes.

Remove from cheesecloth.  Mix in salt.

Can be eaten immediately, or chill overnight.

Option:  Mix in favorite herbs and seasonings to flavor.


Sunday, March 4, 2012

Eggs


One of the first labs we did involved eggs. I divided up about ten different ways to scramble eggs. I bet you didn't know there were that many. As with most things, each method is proclaimed as the best by those who espouse it. The kids thought I was insane when I first mentioned it, but they soon got into it.


Version 1

2 eggs

1 oz water
salt & pepper, tt
1 oz butter


Put a pan on the stove on low-to-medium heat.

Blend eggs with water, salt, and pepper.

Melt butter in pan.

Add the eggs all at once and immediately begin stirring the bottom of the pan with a spatula, stopping only when you're done. 

Version 2


2-3 large eggs 

salt & freshly ground pepper
1 T butter
1-2 T heavy cream or half and half
additional salt and pepper, as needed

Crack the eggs into a bowl, add 1/8 teaspoon each of salt and pepper, and beat thoroughly with the whisk.

Place the pan with a tablespoon of butter over medium heat, swirling to film the bottom and sides. When the butter foams, pour all the eggs into hot pan and immediately being stirring with the whisk, clearing the thickening eggs from the sides and bottom of the pan and breaking up any lumps. Be sure to run the whisk around the bottom corners to dislodge any egg that may stick there.

Cook for a minute or slightly more, steadily whisking, until the eggs are uniformly thickened but still quite soft, with very small and creamy curds.

Remove the pan from the heat, whisk in another spoon of butter and 1 or 2 tablespoons of cream, and quickly spoon the eggs into a soft mound on a warm plate.

Serve immediately with a garnish of your choice.


Version 3

2 large eggs
1/8 t
table salt
Ground black pepper
2 T milk
1 ½ t unsalted butter

Crack eggs into a medium bowl. Add salt, pepper, and milk. 

Whip with a fork until streaks are gone and color is pure yellow; stop beating while the bubbles are still large.

Meanwhile, put butter in a 10-inch nonstick skillet, then set the pan over high heat. When the butter foams, swirl it around and up the sides of the pan. Before foam completely subsides, pour in beaten eggs. With a wooden spatula or a nonstick-safe egg turner, push eggs from one side of the pan to the other, slowly but deliberately, lifting and folding eggs as they form into curds, until eggs are nicely clumped into a single mound, but remain shiny and wet, 1 ½ to 2 minutes.

Serve immediately.

Version 4

4 eggs
1 T cream
salt & pepper
butter

Place eggs in a blender and pulse for about 2 minutes to add tons of air bubbles into the eggs. Then add cream, salt and pepper.

Heat pan on medium; add knob of butter and melt. Add eggs and immediately stir in a circular motion with a rubber spatula. Just as the eggs come together, yet are still creamy and look underdone, off the heat and onto the plate. 

Version 5

1 dozen eggs
heavy cream
salt & pepper, tt

Place a well seasoned cast iron skillet over med heat.

Beat eggs with a fork until yolks are fairly well blended into the whites.

Pour cream into hot skillet until it is ¼” deep.

Stir the cream while it bubbles and add the beaten eggs.

Cut and stir with a spatula till they are beginning to set, then take off the stove and finish with residual heat

Season with salt and pepper just before final stir and turning out into serving bowl.

(These scrambled eggs are very tender and can be held in a bain marie for a prolonged period without becoming tough or rubbery.)

Version 6

6 large eggs
¼  c heavy cream
4 T unsalted butter, cut into small pieces
¼  t salt
¼  t freshly ground pepper

Place all ingredients into a medium-size stainless-steel mixing bowl. Place the bowl over a pan of simmering water. 
Make sure the bowl does not touch the water.
Whisk all the ingredients continuously until the eggs are semi-set in small curds, about 10 minutes. The eggs should be soft.

Version 7

2 eggs
1 T butter
1 ½ t sour cream
Salt & pepper

Whisk eggs. 

Melt butter in skillet over med heat. 

When butter has melted, add eggs and stir gently until almost set.

Add sour cream, salt, & pepper. 

Allow sour cream to warm up, and serve.

Version 8

3 eggs
1 T butter
salt & pepper

Melt butter in skillet over low heat.  Break eggs directly into pan. 

With spatula, break yolks and stir to mix.  When eggs start setting, begin gently folding them from the outside of the pan to the center. 

Remove from heat when eggs are almost set and allow residual heat to finish.

Add salt and pepper to taste.

Version 9

2 eggs
stock

Bring a few inches of stock to a rolling boil in a sauce pan, swirl to create a gentle whirlpool, and slide in beaten egg. 

Put the lid on, count to 20, and remove from the heat. Drain the eggs in a fine mesh sieve, and press gently to remove excess liquid.

Season with salt and pepper.

Version 10

2 large eggs
2 T butter
salt & pepper, tt
2 oz heavy cream

Beat the eggs and work them through a strainer into the top of a double boiler and stir in the cream, butter, salt, & pepper. 

Bring the water in the double boiler to a barely perceptible simmer, making sure the insert isn’t touching the water. Stir the eggs with a wooden spoon, being careful to reach into the corners of the saucepan so the eggs don’t curdle. Be patient; it will take about 10 minutes for the eggs to start to thicken. Cook until they reach a semi-liquid consistency.  If you like them thicker, just cook them a few seconds longer.  

Season to taste with salt and pepper.

(total cooking time for this method is 20-30 minutes)


Version 11

6 eggs
2 ½ oz butter, divided
3 T heavy cream

Slightly heat 1 oz of butter in a thick-bottomed saucepan.  

Add the six eggs, beaten moderately with wooden spoon, together with a large pinch of salt and a little pepper.

Place the pan on a moderate fire, and stir constantly with a wooden spoon, taking care to avoid cooking too quickly, which, by instantaneously solidifying the egg-molecules, would cause lumps to form in the mass—a thing which, above all, should be guarded against.

Version 12

2 eggs
½ oz milk
salt & pepper, tt
2 t butter
1 oz cream cheese

Whisk together first 4 ingredients.

Melt butter in a non-stick skillet over medium heat; add egg mixture, and cook, without stirring, until eggs begin to set on bottom. 

Sprinkle cream cheese cubes evenly over egg mixture; draw spatula across bottom of skillet to form large curds.

Cook until eggs are thickened but still moist. (Do not stir constantly.) Remove from heat, and serve.


Saturday, March 3, 2012

Welcome To My Kitchen


It must seem odd to start a blog based on my classroom in March, but I've been thinking about doing this for almost a year. If I put it off until August who knows what could happen.


First a little  history. My career began, though I didn't realize at the time, when I was 14 years old. That's when I was hired by Jack's as a summer employee. Jack's is a fast food hamburger chain in the south. I was trained in both front and back of the line, but was much too shy at that time to do the register well. I ended up in the kitchen working the fryers, and I loved it. It was followed by years of waiting tables, working banquets, working in prep kitchens, time as a front desk clerk, clerical work in sales and catering, food & beverage cost control, beverage manager, cafe manager, food & beverage director, gourmet food & cheese buyer, designing and opening a quick service restaurant, and then 10 years as a high school business teacher. I did manage to get a degree in hospitality management from Florida State University and completed the education courses required to become a certified teacher. When an opportunity arose to join the career center as a culinary arts teacher, it was the perfect blending of my two careers. I truly feel like I've found the perfect job for me.